OVERVIEW

There may be some slight differences in the appearance dependent on your personal settings, but structurally, the board will be laid out in the same way.
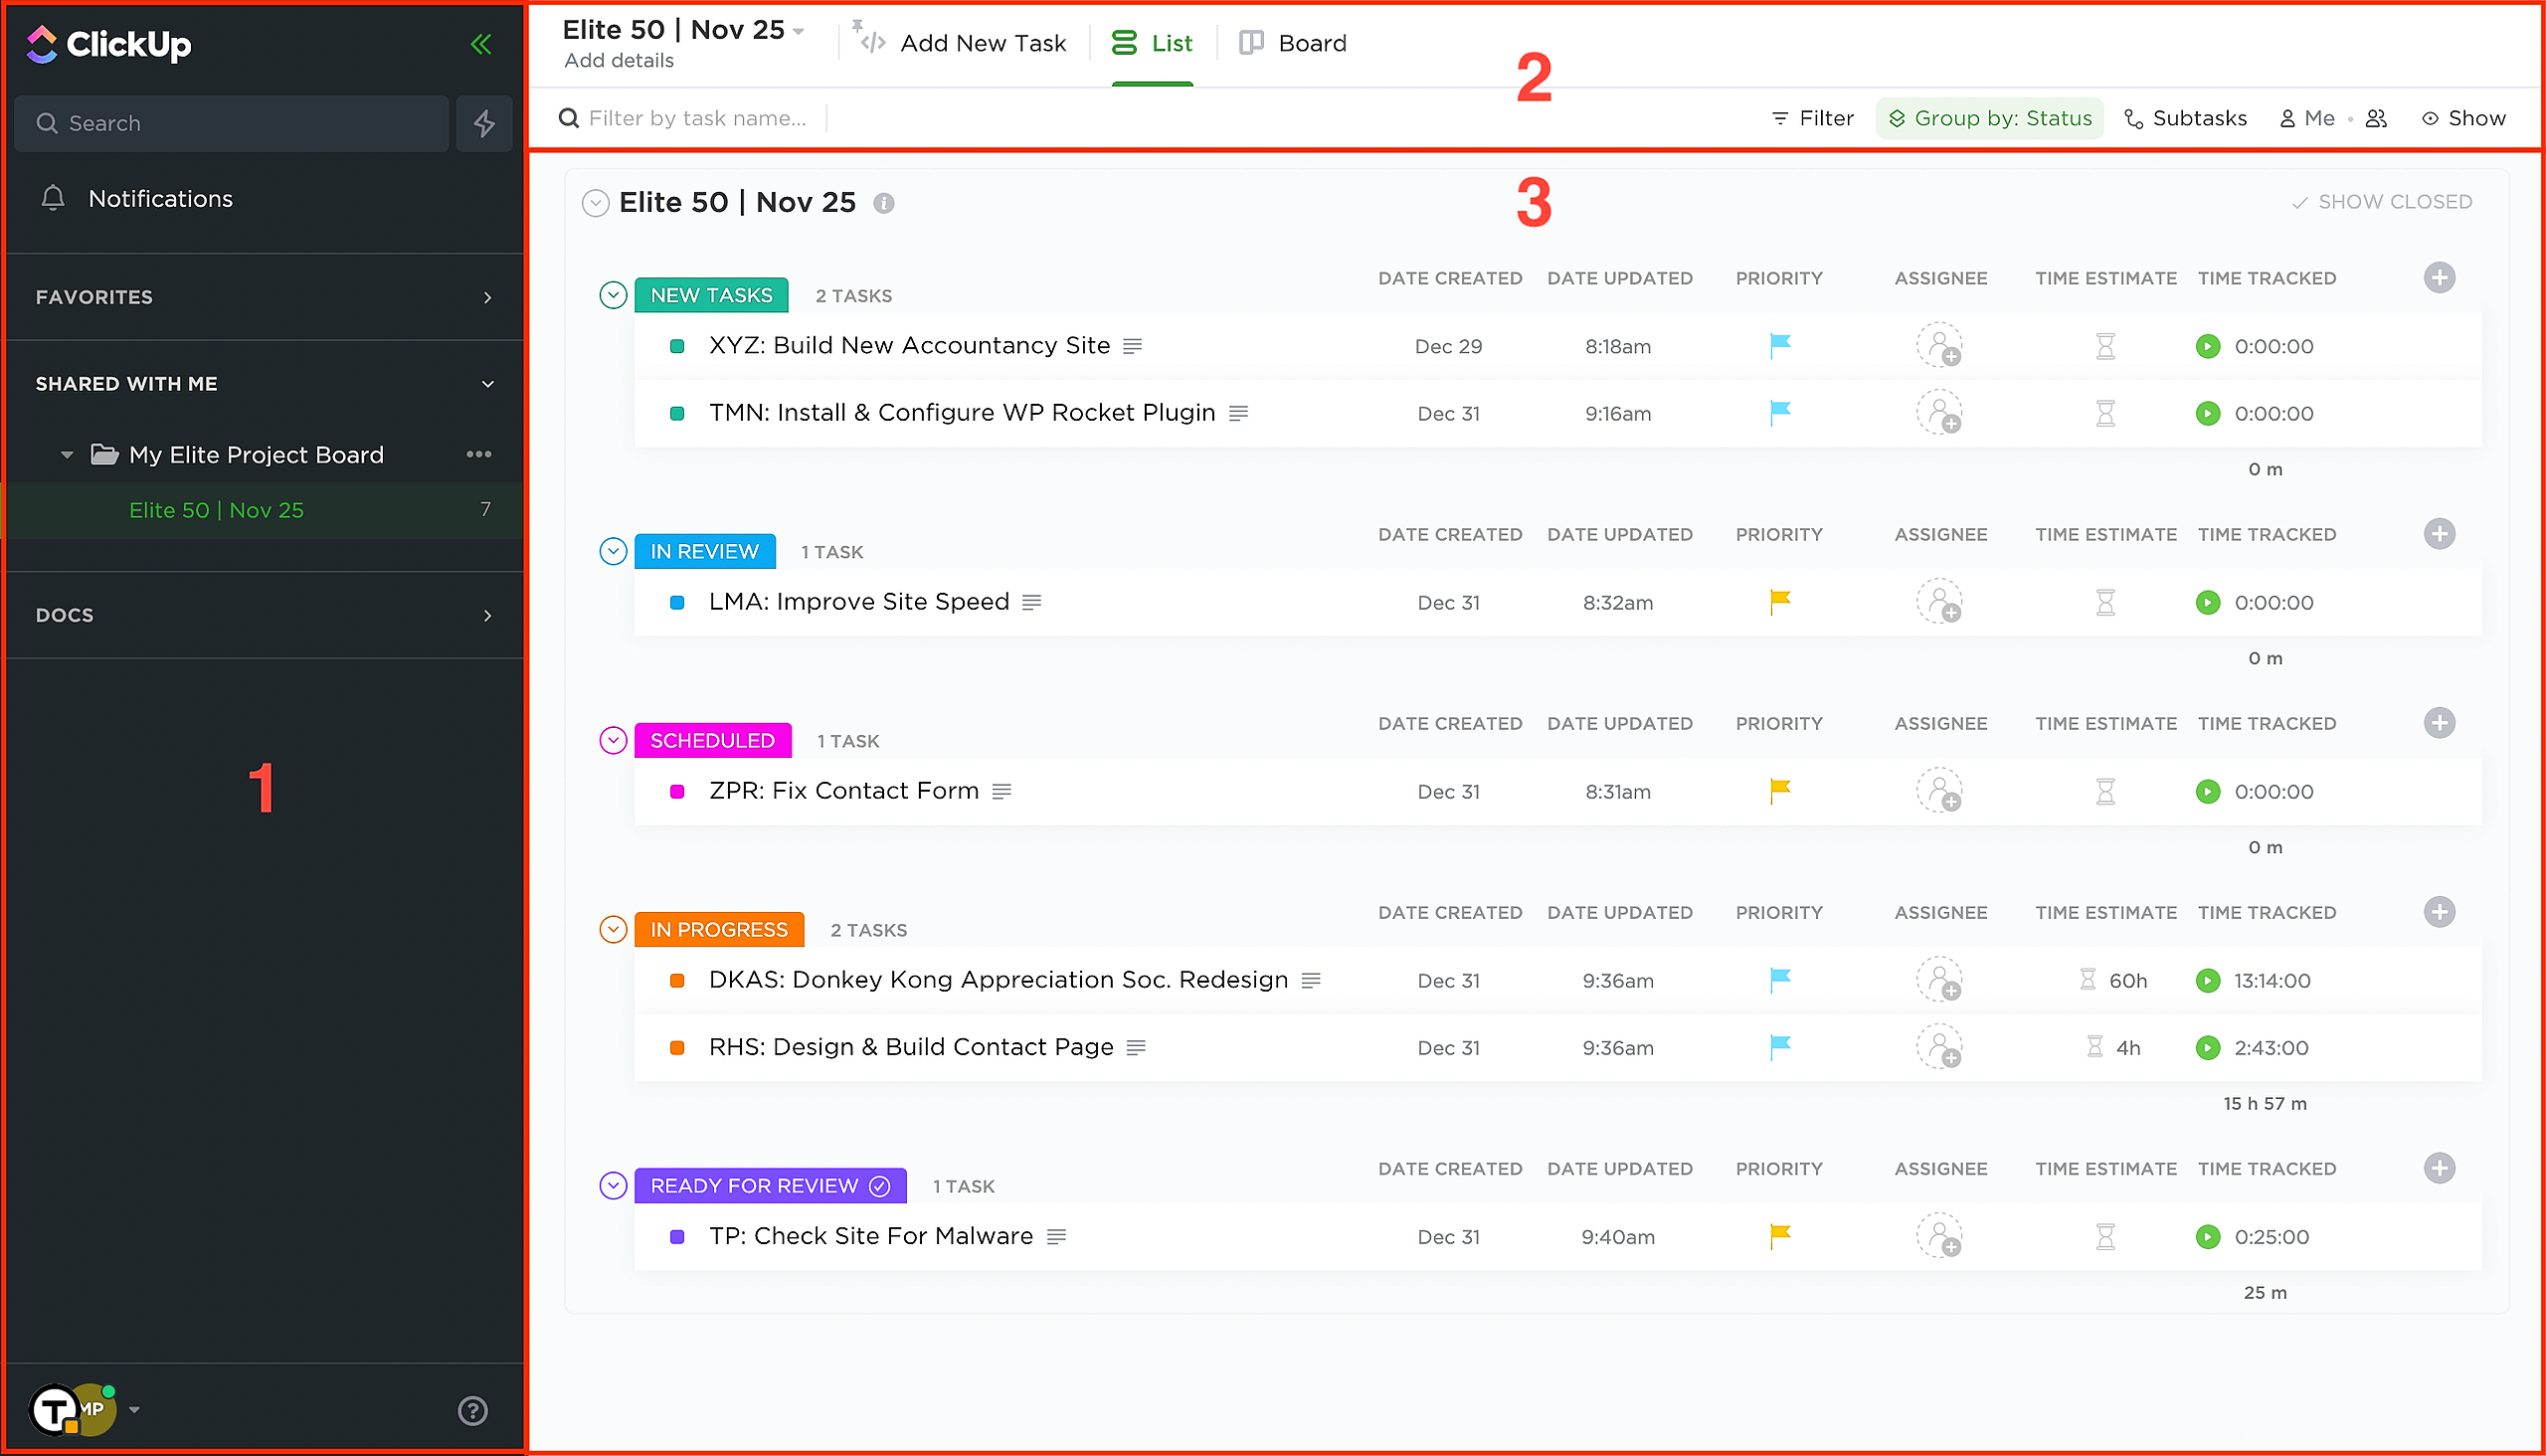
There are 3 main sections:
- The Sidebar - This provides the highest level of navigation, and is where you will find the link to your project board.
- The Header - This area displays contextually appropriate tabs for the section you are navigating. When viewing your project board, this is where you will see the option to add a new task and view your tasks in a list or kanban board format.
- The Context Area - This is where core information is displayed for the content you have navigated to. When working with your project board, it is where you'll find all of your tasks.
FINDING YOUR PROJECT BOARD
When you first log into ClickUp, the context area will show all tasks in ClickUp with a default layout and column structure. It's important to note that this is not the place that you will be administering your tasks.
Rather, you need to navigate to a shared folder, accessible from the sidebar.

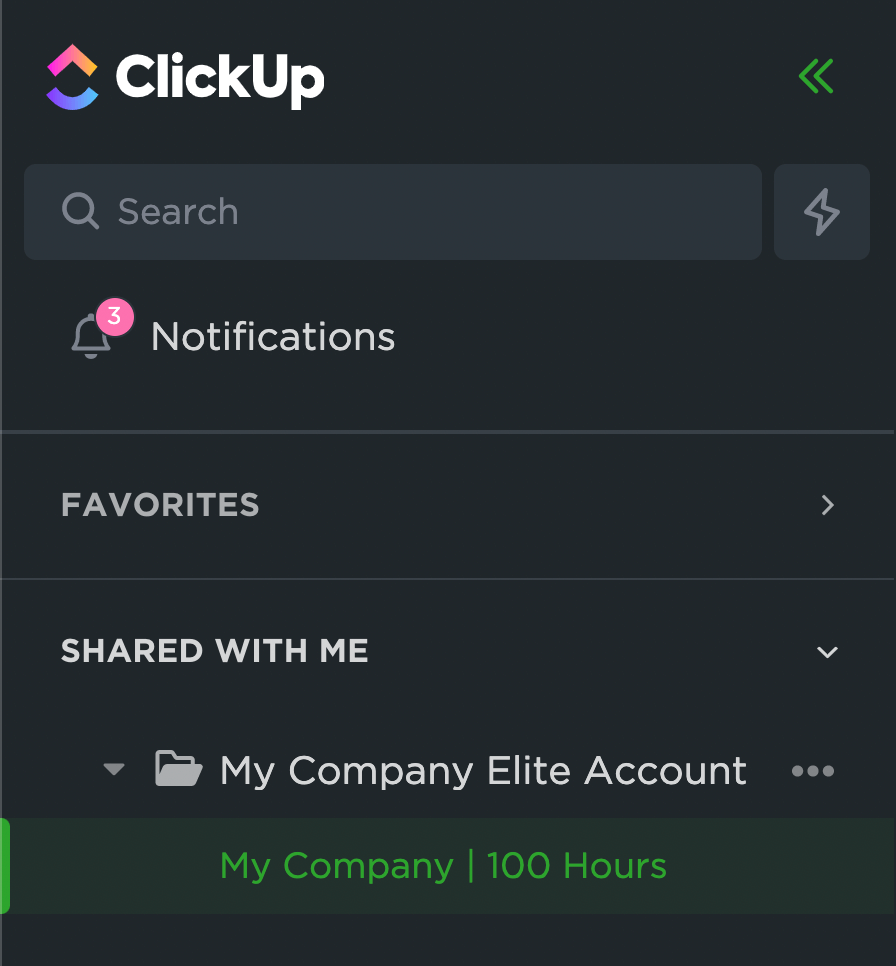
Initially the Shared With Me section might be collapsed. Click the toggle to expand this and it will reveal your project board.
Within the shared folder, you will see your project board like the image above. Click on the board (eg. My Company | 100 Hours), and it will display your active tasks in the Context Area to the right.
HEADER OPTIONS
Once you have opened your project board from the sidebar, you will have the following options that appear in the header:
- Add New Task - Clicking this will open a guided interface in the Context Area that enables you to add a new task or project to your project board. Learn how to use this here.
- List - This is the standard view and displays all your tasks vertically. By default, tasks are grouped by their current status (learn more about task statuses here).
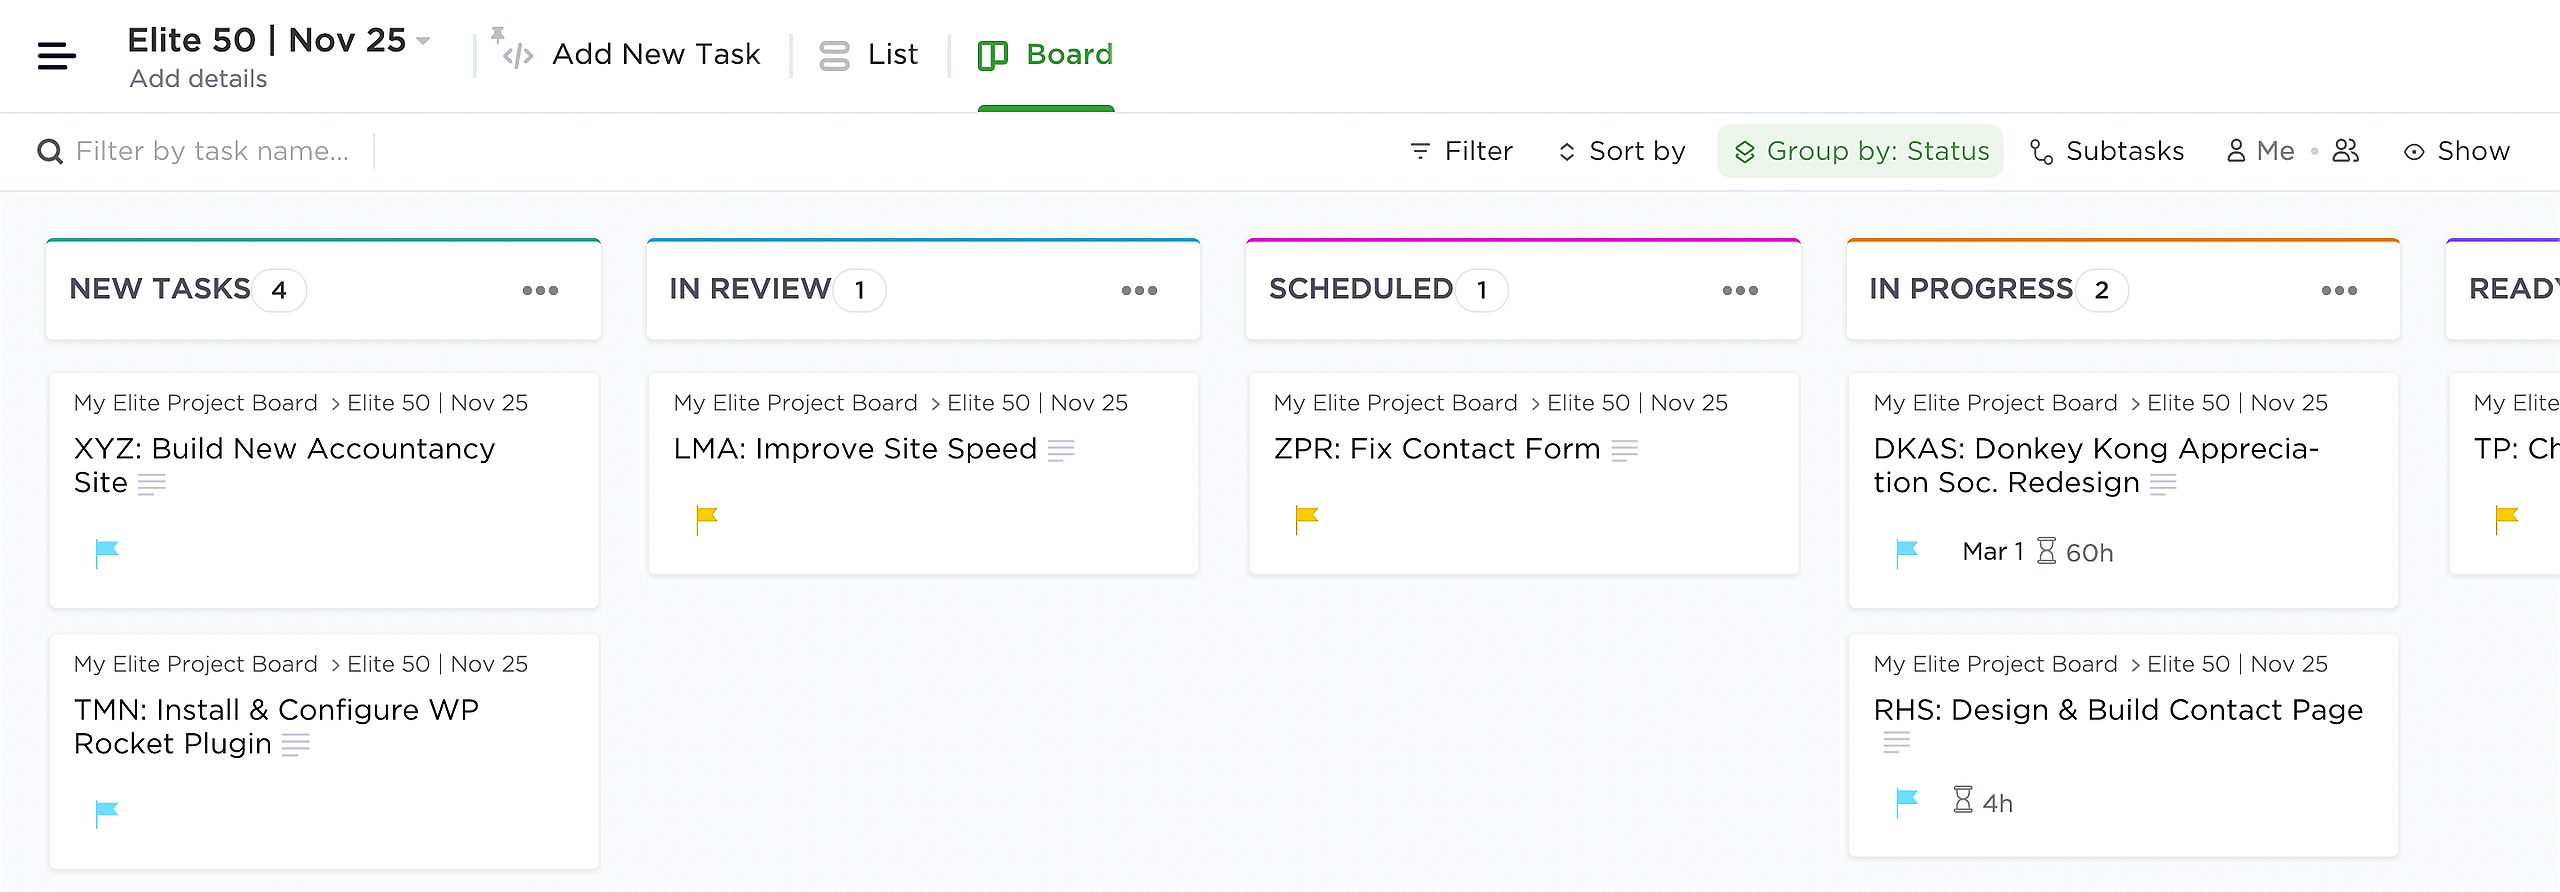
- Board - If you select this, your tasks will be displayed horizontally in a kanban format and grouped by status.
THE CONTEXT AREA

- Date Created - This displays the date when the task was added to the board.
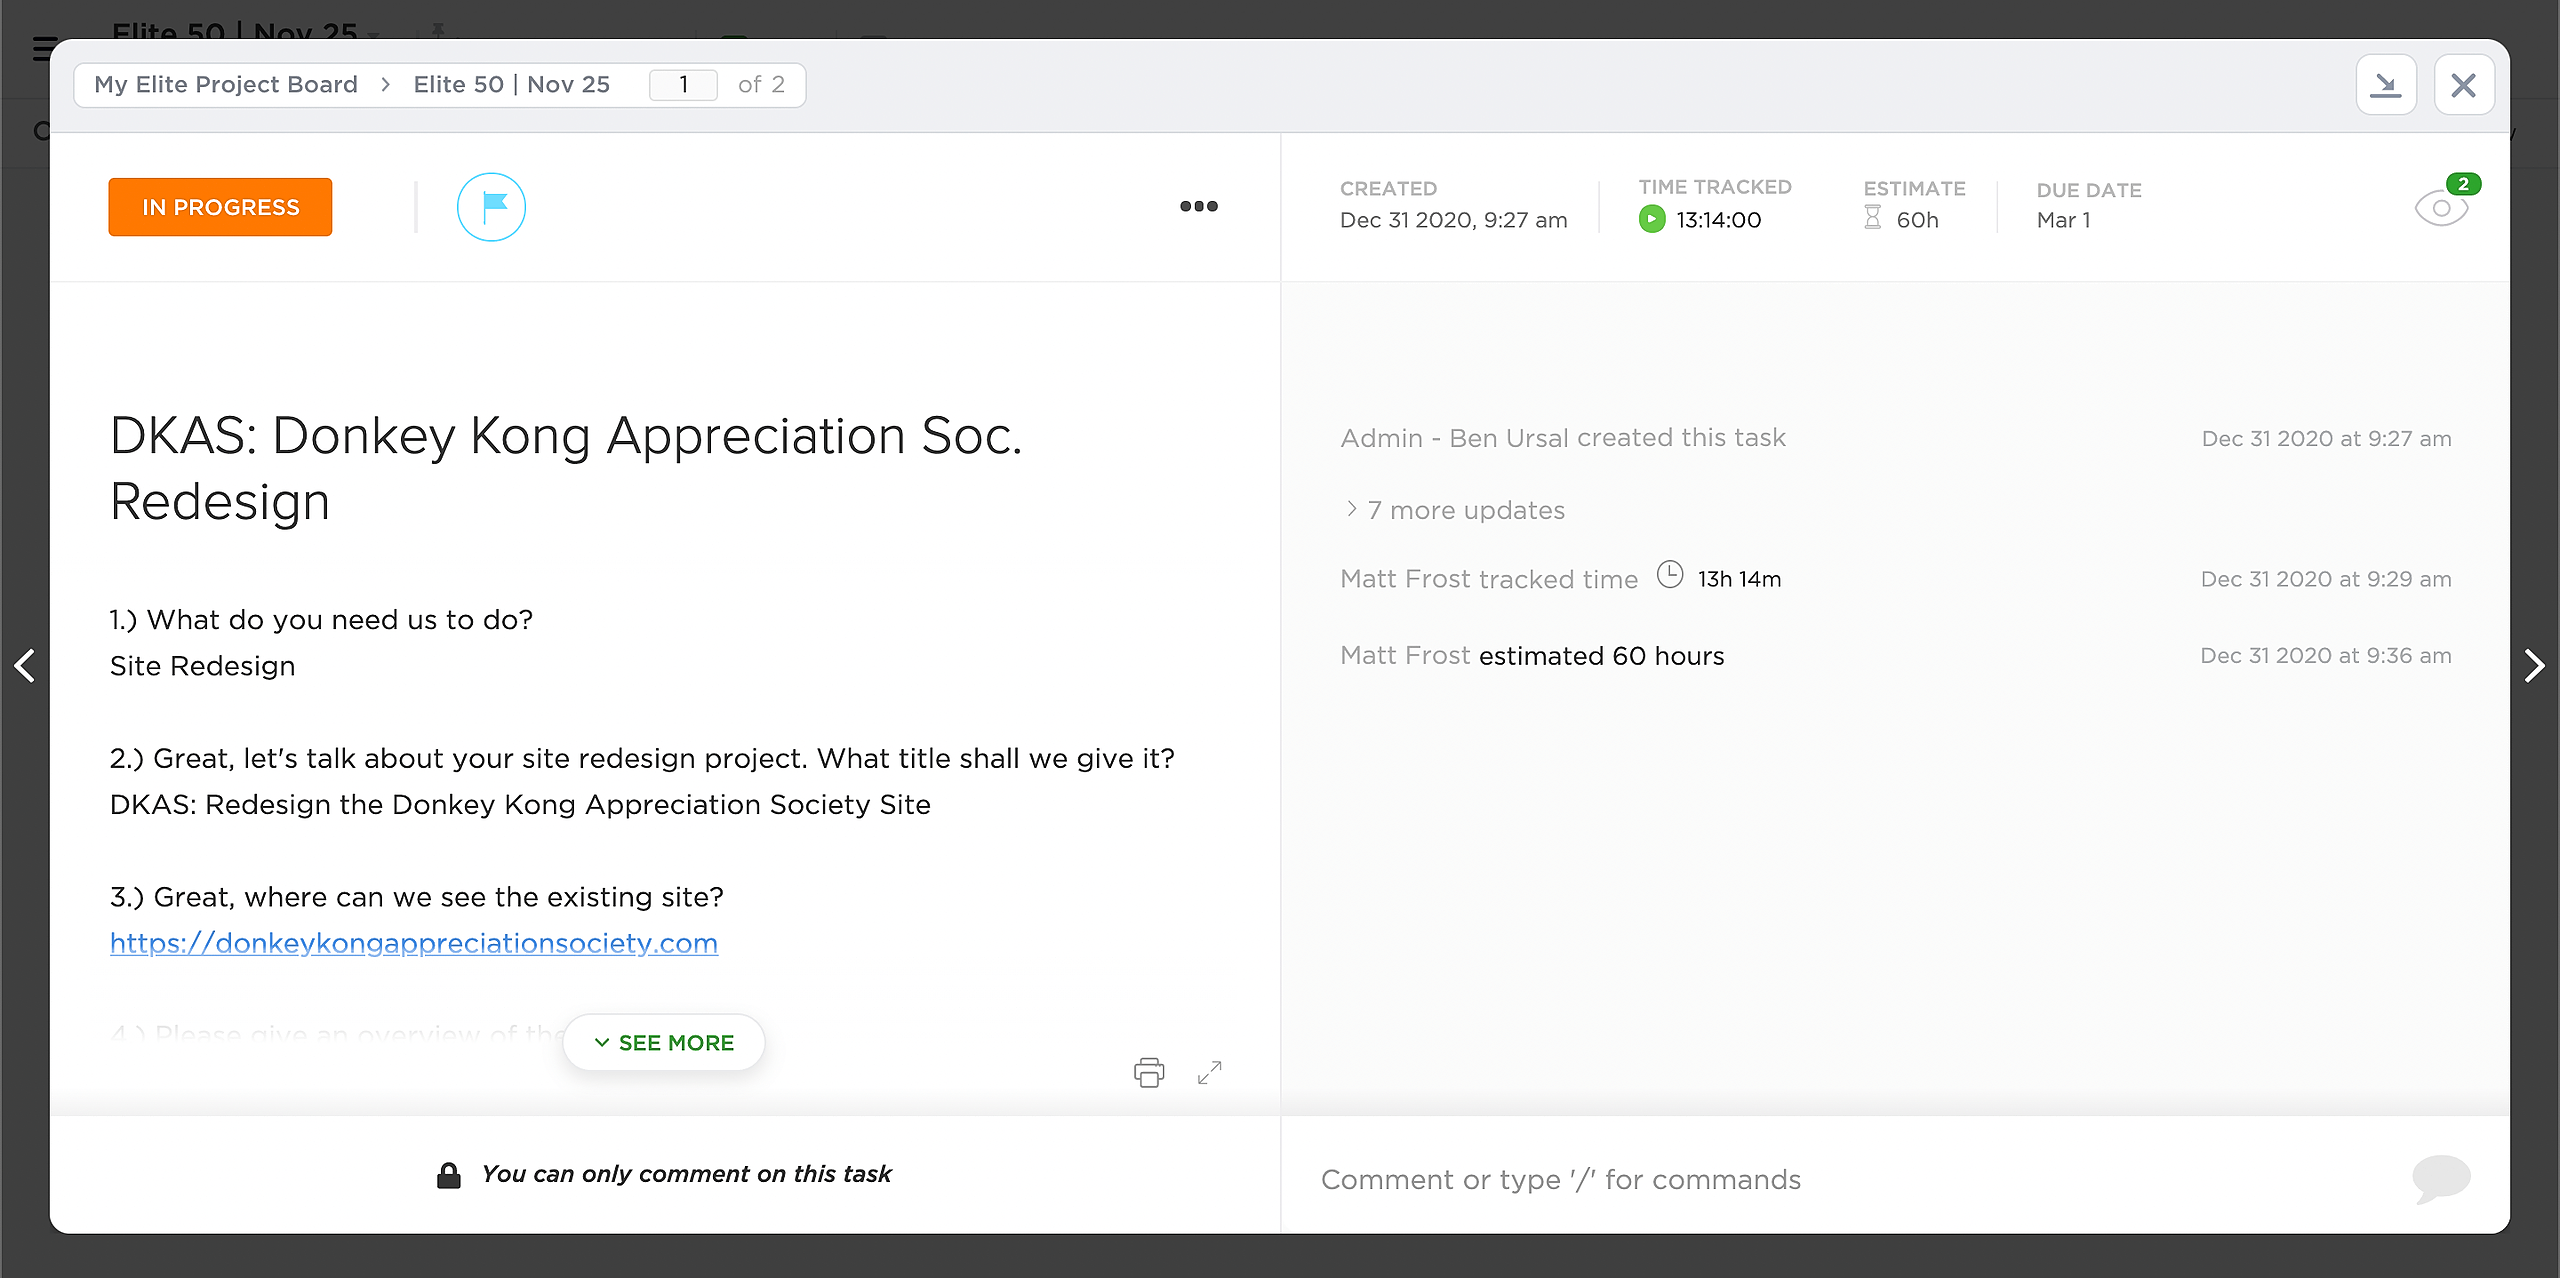
- Date Updated - This shows the date when any changes were last made to the task, including comments, updates or time tracking sessions. This gives you and us a pulse of when something was last worked on.
- Priority - Whenever you add a new task, you'll be asked to give it a priority in relation to your other tasks. This columns shows the priority set. There are 4 priorities: low, normal, high and urgent.
- Assignee - Any team members who we have assigned to work on your task will have their avatar appear here.
- Time Estimate - This shows the total number of hours we expect the task or project to take.
- Time Tracked - This columns displays the time spent on your task, tracked to the second.
If you prefer to view your tasks using the Board view, each task will appear as a card, with limited information displayed against each.


IMPORTANT NOTES
As with any third party software, there's always a few minor quirks of the platform that are not 'perfect.' There's a couple of things to be aware of:
- When you log in, the default ClickUp behaviour is to show you all tasks across your entire account. If you're not using ClickUp for any other purpose, it will look similar to the dedicated project board that we have set up for you, but it does not share the same board structure, nor can you add tasks from there. For that reason, it is important that you navigate to the shared folder in the sidebar and administer your tasks from the project board contained within.
- You may see a button in the bottom right hand corner that says "Add Task." Despite what this says, you cannot use this to add new tasks. Instead, we have created a guided task creation process just for you that lives at the top of your project board.


